
The entire interior of the house was painted white. Wow! I really needed a calm color and I liked the color of sage green we just finished painting in our living room in the previous house. So green was another color added to the mix. I finally decided on a fabric and have finished everything in the main living area except a couple more accent pieces. Today I finished the sofa pillows that seems to have taken me all summer to do. Not because they were hard, but because I wanted to create other items.
So here they are. I chose to do envelope covers to cover the pillows that came with the sofa that were the same as the upholstery fabric. I like envelope covers because they are easy. No zippers, no buttons, no ties, etc. I'm not a fan of reinventing the wheel, so instead of creating the entire tutorial, here are a couple of tutorials I found that show how to make the piping I added and the covers themselves.
Envelope Pillow Cover Tutorial - by vixenMade
Piping Tutorial - from Positively Splendid
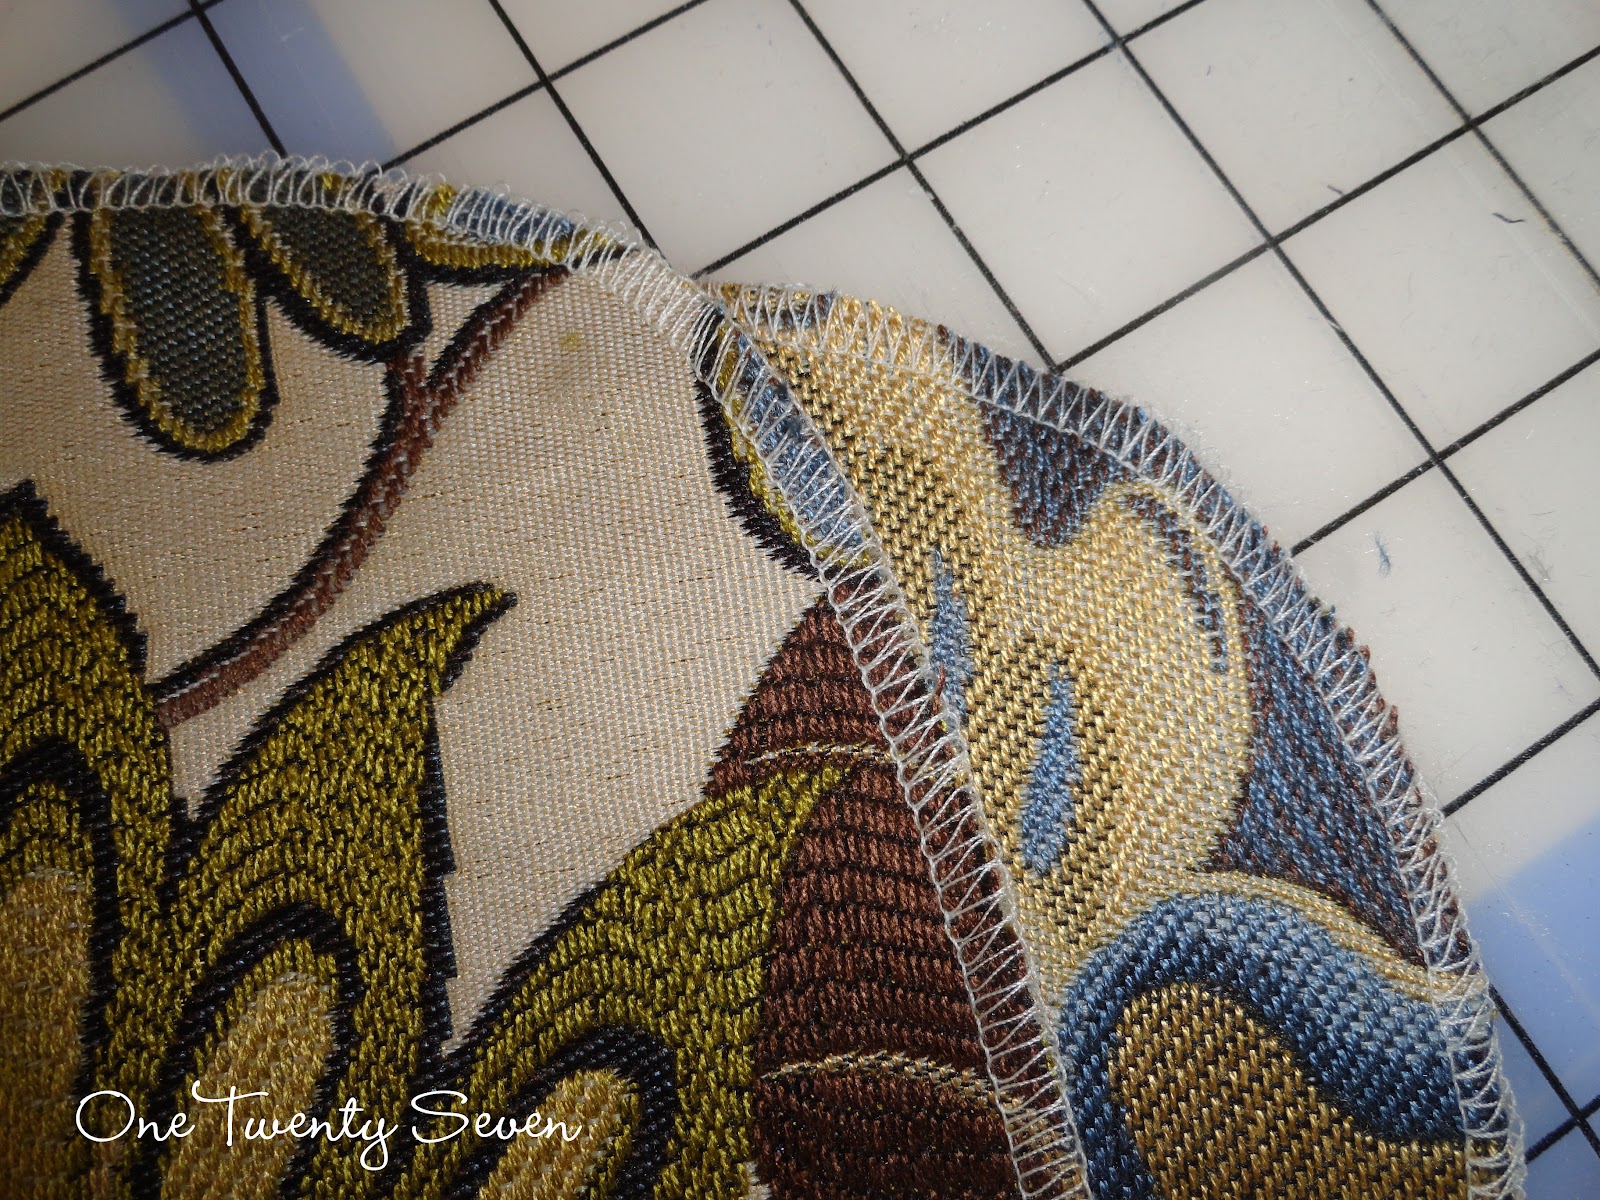
Here are a few highlights of what I did. After cutting the fabric I needed I wanted rounded corners. I just grabbed something round I had nearby ( part of another project) and used it as a template.

The fabric I chose ravelled quite profusely ( of course I picked one that wasn't simple to work with) . I had to serge the edges of all the pieces I used. I've had a serger for about 15 years. I can't imagine sewing without one. For those of you who aren't familiar with a serger, it cuts and sews and overcast stitch at the same time.


Here you can see the back of the pillow. Just a flap over fabric makes it easy to stuff pillows in and get them out. Please don't criticise me for not matching the fabric. This fabric was a little more pricey than I had like, and this is the back, so matching was out of the question for this project.


Here are a few pictures of the drapes and curtains so you can get a sense of the colors.


Lessons learned:
1. Buy the best fabric you can afford. The time and effort you put into the project will be rewarded with a quality product.
2. When sewing curves, be sure to clip the corners. The piping will fit easier as you sew it to the main fabric and it won't pull when the project is done.
3. Take your time. Don't do short cuts even if you are tempted. I know!
Do you have a project that you thought you'd never get done and have finally completed it? I'd love to hear about it.
No comments:
Post a Comment