Although I started and finished this quilt this past summer, I saved this project and post just for this time of year. It is one of my favorites (of the few I've made) so far. This quilt was also my introduction to to My Quilt Infatuation , my go to for quilt tutorials and ideas. Kelly is so creative; she has an eye for color, design and technique I just admire. I've sent her a few questions regarding her tutorials and she has been so accommodating. She is an inspiration to me, and sometimes, even though she is hundreds of miles away, she seems like a friend. She has also taken a year off from teaching to pursue a possible career change, which I admire. I only have a few years until retirement and although I wish I could do what Kelly is doing, it would be foolish of me at this point in my career. I have often thought, if Kelly is still going strong with her quilts in a few years, the first thing I'm going to do when I move south is to visit her in Louisiana.
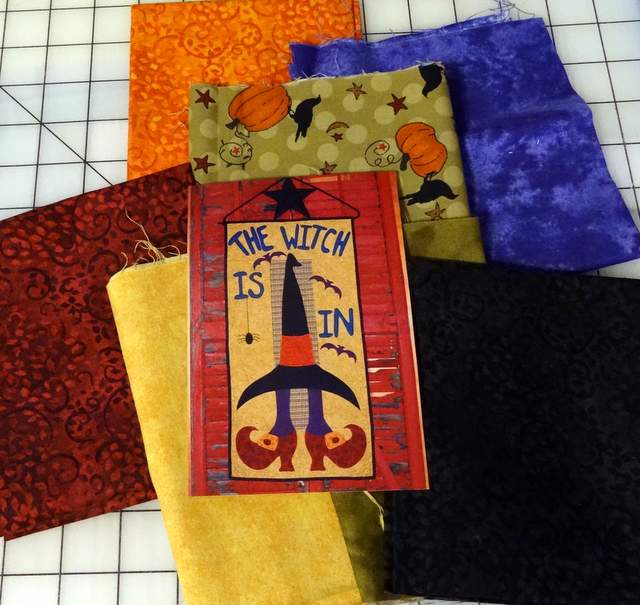
I decided to spend the summer working on Halloween decorations, the first was my Halloween Craze quilt. The reason why just the summer is because I'm a school teacher and during the school year, there is just not a lot of extra time to make quilts. Next summer, I think it will be Christmas quilts. Anyway, this past May, my friend, her sister,and my husband took a road trip to Windham NY to visit The Patchwork Co. I saw it online and on facebook, but did not take the time to go for a visit. Their online site just doesn't portray what the shop is like. Well let me tell you, this shop is my new local favorite. I've been there many times since then. It's a nice drive and they have a wonderful array of Windham fabrics and the customer service is just fantastic. Since Rich was our driver and helped with carrying our bolts of fabric to Murray to cut, I decided to make this Halloween quilt for him. He helped me pick out some of the fabrics for the quilt and is developing an eye for color.
So let's get back to the Halloween Craze quilt. I said this was my introduction to My Quilt Infatuation. This is because I've been amazed by all the chevron quilts I've seen and some are just so eye catching. One of them was Kelly's Easy Peasy Chevron Quilt Tutorial. I scoured the internet looking for the best tutorial for chevron quilts, and I think this is the best by far.
I took Kelly's tutorial with me to The Patchwork Co. fabric store and Rich helped me pick some fabrics. Although not all of them were from that store he and I picked a starting place for the quilt. The rest I ordered online from various places.

I started out with squares that were exactly 9 inches. I sewed two squares, right sides together, and then cut them diagonally as Kelly suggested.

I thought this pile of HTS ( Half Square Triangles) was pretty impressive and soooooo easy to make.

After I pressed each of the HSTs, I trimmed them and came up with a pile of dog ears. LOL

This sounds so funny, but look at the pile? The only trimming you'll need to do is just great.


Once that was done, on to sewing the pieces together.

And here is the first oooops.

No worries though, the seam ripper is close at hand. No one likes to make these mistakes, but I think it's kind of a Murphy's law of sewing: Just as I think I'll have all the pieces sewn correctly, I am bound to have a mistake. That's ok though, just rip it out and continue on.


On to the backing: a black fabric with lots of ghoulish sayings.

Now it's time to sandwich it together on my portable table with carpenter clamps.

It's all pinned and ready to sew.

Since I'm not a really good free motion meanderer yet, I decided to use a straight stitch to quilt the sandwich together.


My calculations for the binding are close at hand.


This past September, our local Quilt Barn Trail sponsored an Airing of the quilts day. It was kind of fun to grab some of my quilts and hang them out in the beautiful sunshine.

As you can see, my Halloween Craze quilt is there next to one my grandmother made me over 50 years ago. I think one of my future projects is to redo the quilt she made. It is worn and went through the flood from Irene four years ago. I'd like to think I can rejuvenate it so it will last another 50+ years.


Lessons Learned:
1. The HSTs are so very easy. I just can't wait to do more.
2. Take your husband to the fabric shop once in awhile. You just might be surprised with the help he can provide.
3. Although quilting is more of an activity done in solitude, it was fun for me to create them.
This will most likely be my last post focusing on quilts for awhile. I have a few in the works, but time to finish them will be limited.
Thanks for taking time to visit my blog and read about my creations. Enjoy the upcoming holiday seasons and for now HAPPY HALLOWEEN!

I'm partying once again with: