
 I've followed many FB sites that offer various "alongs". I am envious of the quilt-a-longs I've viewed over the past years, deciding not to participate in them because of a demanding career.
 This past May 2019, I decided, darn it, after 28 years, I need to take some time for me. I made up my mind to join this site and if I didn't finish on time it would be OK. So that is what I did. I joined the Fort Worth Fabric Studio "A Day In May" quilt-a-long.
2019 A Day In May Mystery Quilt FWFS Exclusive.
I've ordered fabric for my projects from many different sites in the past, but currently, my absolute favorite is Fort Worth Fabric Studio. They really know how to create fabric bundles and market them for sale. They also provide kits so I don't have to guess what fabrics to use. I'm not that good at that YET.
I shared what they do with my mentor: Shirly Hall Garner to create fat quarter bundles to sell in her small shop in rural Richmondville, NY. She also has a wonderful knack for putting together fabrics for a quilt. Not a threat to FWFS in any way, just a suggestion to Shirley, who is a master quilter in upstate NY. I've taken lessons from her for the past 3 years and have learned so much. She's created amazing hand quilted quilts and is a master of choosing fabrics that coordinate with each other. She even creates painted barn quilts!
At the time of this post, I've joined 3 quilt-a-longs from Fort Worth Fabric Studio. I finally finished the first: "A day in May". I'm currently working on finishing the 2nd: "Texas Square Dance", and I just joined the "Altogether Spooky Mystery Quilt" sew-a-long which will take place during August. What is wrong with me? I am obsessed!
"A Day in May" was my first attempt to keep up with a quilt - along. I did not complete it on time, I made many mistakes, but in the end, the quilt is one I am keeping. Because of the mistakes I made, I contacted Jodie at FWFS. She was nice enough to send more fabric and help me with what I did wrong. I have learned to embrace the mistakes I make in order to learn the right way to do things. I've done with while taking classes at Shirley's, and with help from Jodie from FWFS.
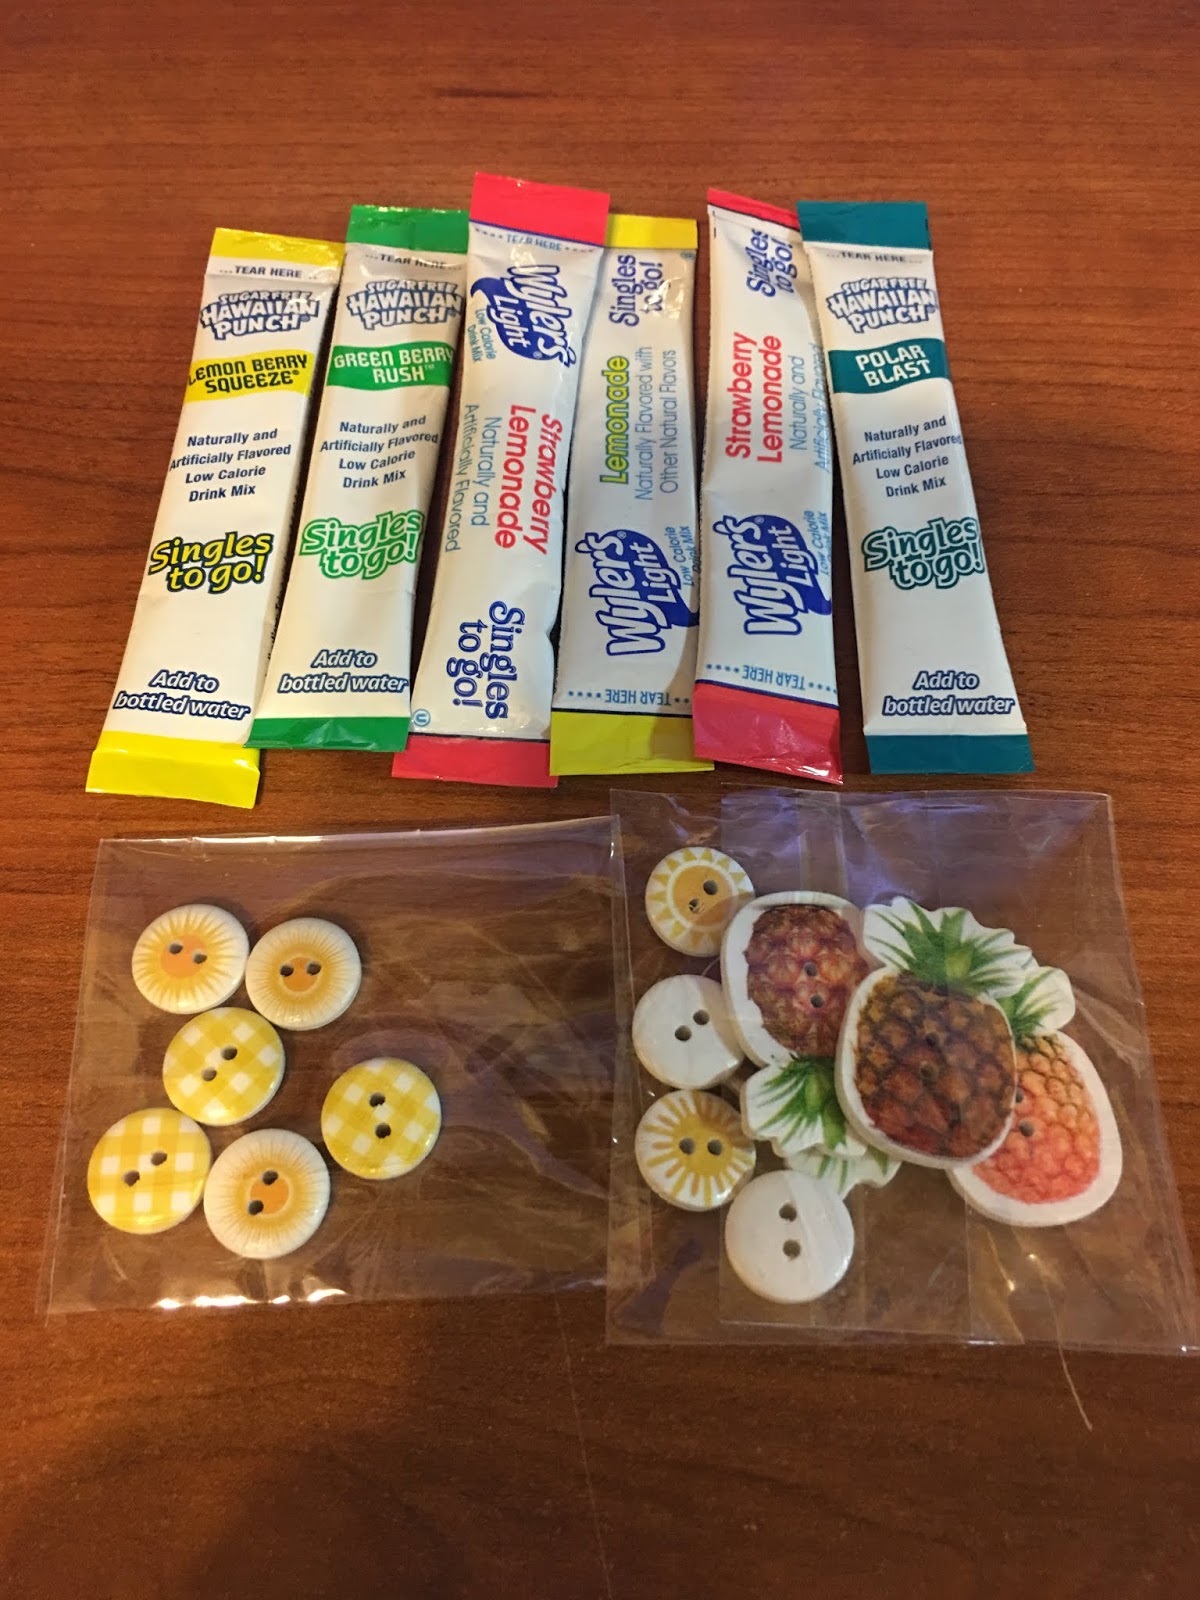
So here was the process of this beautiful quilt: I like how Jodie at Fort Worth Fabric Studio packages her fabrics to be mailed. There is always a little goodie in the package. It might be some coordinating buttons or a special refreshment you can drink while sewing your creation.


Freebie buttons and drink mixes. In this heat, the drink mixes were a hit.
Her directions, below, are exceptional.

As I started to create the small HST's (half-square triangles) I noticed I (personally) needed some extra help with these. I made card stock paper squares of the size specified in the pattern. And used them to create the exact measurement for the tulip block.


I am very happy how they turned out, especially because this was outside of my comfort zone.


Have you ever heard of "That Purple Thang"?I love this little tool for a variety of reasons. I use it on almost all of my sewing projects. I'm sure there are many other tools out there and things that can be used for the same purpose, but I like building a sewing and quilting arsenal of tools, so I purchase what I can.

After sewing all the blocks together to create the top and the sandwich, the next step was quilting the front through the batting and to the back. I am still learning how to perfect my machine quilt stippling. Not totally satisfied with it yet, but every project I get better.

Piecing together and of course, Charlie needs to be a part of it. I have never had a pup that feels he needs to be involved in almost everything I do in my woman cave.


The sandwich is done, the quilting is done, now on to the binding.

I really like doing the binding, but I am not traditional. I won't spend the time hand stitching it. I'll machine stitch the binding using a scallop stitch, straight stitch, or various other stitches.

And here is the finished project. Although I made mistakes on this and won't sell it, I did purchase another kit in case anyone would like to purchase it completed. I've learned from my mistakes on this one, the next one will be perfect. That is my "A" type personality.


I love how this quilt came out. I'm saving it for myself, hoping I'll have a place for it in my home when I retire.

1. Pay attention to the size cuts mentioned in the tutorials.
2. Get to know your 1/4 in foot. Measurements for quilts need to be exact.
3. Ask for help when needed.
4. No One is too old to learn new tips and tricks for their favorite hobby.
Have a wonderful summer everyone,

PS. As of Aug. 22, 2019, I am happy to report I had two orders for this quilt. I'm glad I did the first for myself. The next two will be perfect for my customers.


