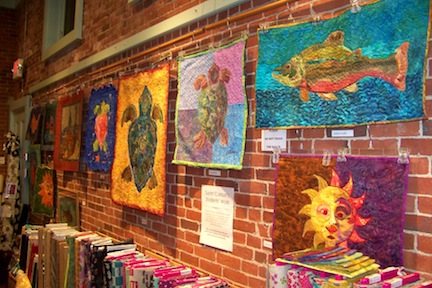
 Two years ago while on vacation in Ogunquit, ME, I finally decided to go into Portsmouth NH and look around. Rich is a "let's get to where we're going" kind of guy and doesn't like to explore the detours. So while he was doing the shake and bake on the beach, I went exploring and found my new favorite fabric shop - The Portsmouth Fabric Company. The shop is in an old brick building and doesn't look like much from the outside, but has lots of New England charm. The reason I love it so is because it is so full of color and you can't help but be happy when you walk in the door. You will find yards and yards of popular designer fabrics including Amy Butler and Kaffe Fassett. If you love fabric like I do, you could spend hours and hours here.
 I couldn't leave without buying some of the great fabric, so I purchased a jelly roll and some fat quarters from some of Kaffe Fassett's blue fabric collection. I knew I probably wouldn't get to making a quilt right away so I settled for a summer bag pattern I'd seen in the store called "The Weekender". Here is photo of the bag from the shop someone else made in different colors than what I chose.
Soooo, after two years of having the fabric, I got to work on the project. Here are the jelly roll strips and pattern.
I cut and pieced the fabric together, made the handles and button loop. After the piecing was finished and batting added to the main bag pieces, I quilted the main parts with an "in the ditch" feather stitch. If you look at the right side of the photo on the right below you can see the stitch.
I decided to make a couple of changes to the bag. The first on the handles. I decided to roll the middle of the handles and stitch the sides together. Isn't this how they end up anyway after you've carried the bag for awhile?
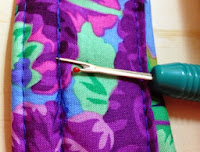
And just so you know, I made my share of mistakes while making this bag, the proof is in the picture below.
 The last part of the bag was to create a bottom which was very easy. I ducked taped some cardboard together and made a sleeve of fabric. Into the bag it went.
 Lesson's Learned:
1. Be sure you have enough fabric to complete the project you decided on. There were plenty of strips in the jelly roll I purchased, but some of them I just didn't like. I used some solid fabric from fat quarters to make the handles and put a pocket on the front. I'm not sure if I like the pocket or not, the jury is still out on that.
2. I had to piece each individual 5" piece together. I think their must be an easier way to put the pieces together. I'm still researching that one.
3. Explore the roads off the main drag, you'll never know what you'll find!
So what do you think? Have you ever made a fabric bag? I'd love to hear your comments.
Have a great weekend,


No comments:
Post a Comment